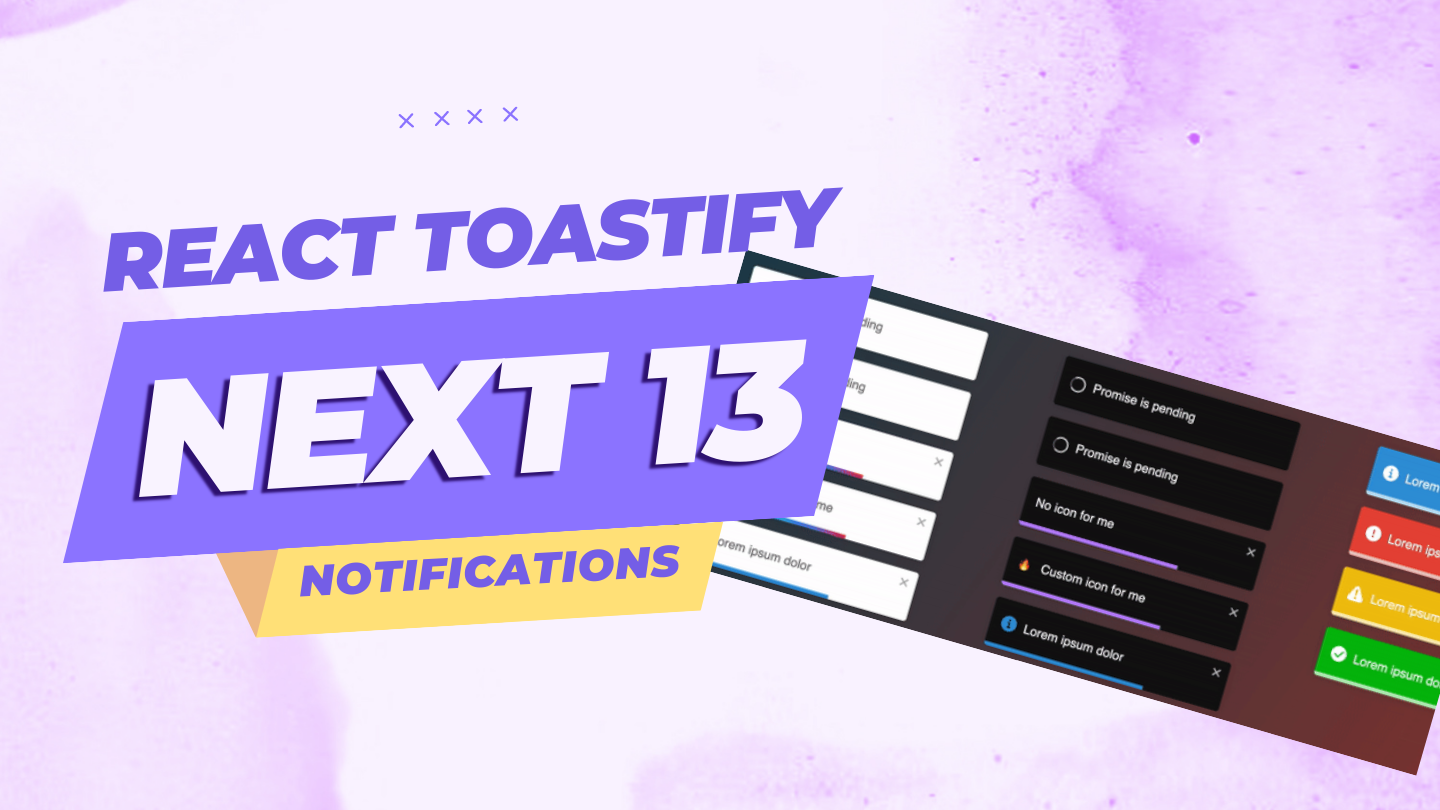
React Toastify: Adding Toast Notifications to a Next 13 project
Add stylish notifications to your Next JS project.

Today, we're going to spice up our Next JS 13 projects with some toast notifications using React Toastify. Don't worry, it's not the kind you eat for breakfast! Toast notifications are those handy pop-up messages that keep your users informed without being intrusive. So, let's dive in and learn how to install and use React Toastify in your Next JS project while having a bit of fun along the way!
Step 1: Setting Up the Project Assuming you already have a Next JS project up and running, open your terminal and navigate to your project directory.
Step 2: Installation - To get started, you need to install the React Toastify package. In your terminal, type:
npm i react-toastifyFeel free to take a sip of your favorite beverage while the installation works its magic.
Step 3: Importing the Components and Styles Now, import the necessary components and styles into your component. Open the main layout file in the app folder and add the following lines at the top:
import { ToastContainer, toast } from 'react-toastify';
import 'react-toastify/dist/ReactToastify.css';
Make sure to add a touch of style to your project by importing the ReactToastify.css file. Stylish notifications are the key to impressing your users!
Step 4: Toasting Time! Here comes the fun part! Inside your component, let's import toast at the top of our file and add a function that triggers a toast notification when run. You can be as creative as you like with the message. Here's some recent code I wrote over the weekend to notify the user when they submit changes to update their profile name:
import { toast } from "react-toastify";


const contactForm = () => {
const onSubmit = async () => {
    try {
      if (auth.currentUser && auth.currentUser?.displayName !== fullName) {
        await updateProfile(auth.currentUser, {
          displayName: fullName,
        });

        const userRef = doc(db, "users", auth.currentUser?.uid);

        await updateDoc(userRef, {
          fullName,
        });
      }
    } catch (error) {
       toast.success("Oops something went wrong! That's on us.", {
        hideProgressBar: true,
      });
    }
    toast.success("Successfully updated profile", {
      hideProgressBar: true,
    });
    console.log("successfully updated profile");
  };

  return (
    <>
  //Component code goes here

      </>
    </div>
  );
};
Go ahead, give it a try.
And voila! Your toasts are now ready to be served, piping hot, at the top-right corner of your application.
Well, that's it, you're now a pro at adding React Toastify to your Next JS 13 projects. We've covered the installation process, learned what to include in your component, and even learned how to raise a toast to impress your users.
So go ahead, add that extra flair to your apps, and keep your users engaged!
Remember, there's always room for customization and exploring additional features in the React Toastify documentation. Happy toasting.
Thanks for reading. I hope you found this post helpful. If you have any questions or feedback, please leave a comment below or reach out to me on Twitter. I would love to hear from you and answer any questions you may have.
